Table of Contents
How to Make Crazy Cream
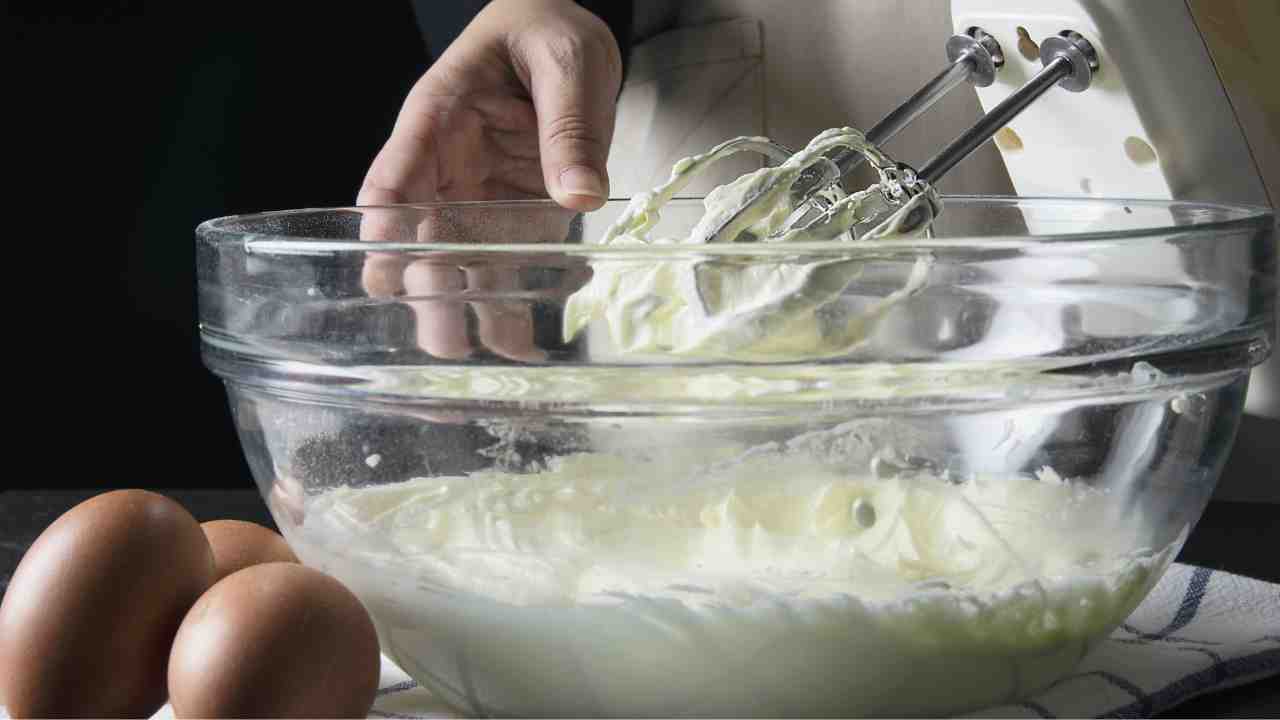
When preparing a dessert, we’ve all faced that frustrating moment when cream doesn’t turn out as expected. Whether it’s over-whipped, under-whipped, or simply not coming together, it’s tempting to toss it out and start fresh. However, what if we told you that you could salvage it? Pastry chefs around the world have mastered techniques to recover seemingly ruined cream and turn it into a culinary masterpiece. In this article, we’ll reveal the secrets of professional pastry chefs to help you recover your dessert and avoid wasting your ingredients. Let’s dive in.

What Causes Cream to Fail? Understanding the Common Mistakes
Before exploring the recovery process, it’s essential to understand why cream might fail in the first place. Here are the most common issues:
- Over-Whipping: Whipping cream past its ideal point can turn it grainy, lumpy, or even cause it to split into butter and liquid.
- Under-Whipping: Cream that hasn’t been whipped enough won’t hold its shape or have the desired volume.
- Temperature Problems: Cream must be cold to whip properly. Warm cream won’t aerate effectively.
- Low Fat Content: Creams with less than 30% fat are challenging to whip and may not achieve a stable texture.
Knowing these pitfalls allows you to identify the root cause when things go wrong and apply the appropriate solution.
How to Save Over-Whipped Cream: The Ultimate Chef’s Trick
One of the most common issues is over-whipping. If your cream has turned lumpy or started separating into butter, don’t worry—it’s not beyond saving. Here’s how to recover it:
- Add Fresh Cream: Pour a small amount (about 2–3 tablespoons) of cold, unwhipped cream into the over-whipped mixture.
- Gently Fold or Whisk: Using a spatula or whisk, fold the fresh cream into the mixture gently. Avoid aggressive stirring to prevent further damage.
- Adjust Gradually: If the texture hasn’t smoothed out yet, add another tablespoon of fresh cream and continue folding.
By gradually introducing liquid back into the over-whipped cream, you can restore its smooth, fluffy texture.
Rescuing Under-Whipped Cream: A Simple Yet Effective Fix

If your cream isn’t whipping up as expected, the issue might be under-whipping or improper technique. Here’s what to do:
- Check the Temperature: Ensure that both the cream and the bowl are cold. Place the bowl in the freezer for 10 minutes if necessary.
- Continue Whipping: Resume whipping at medium speed. High-speed whipping can cause uneven aeration, leading to a poor texture.
- Add Stability: For extra stability, sprinkle a pinch of powdered sugar or cornstarch into the cream while whipping. These ingredients act as stabilizers and help the cream hold its structure.
With patience and the right technique, under-whipped cream can be saved and brought to perfection.
Turning “Ruined” Cream into Creative Desserts
Sometimes, salvaging cream isn’t about restoring it to its original state. Pastry chefs often transform mishaps into creative dessert components. Here are a few ideas:
- Use as a Butter Base: If your cream has separated into butter and buttermilk, drain the liquid and use the butter in baked goods like cookies or cakes.
- Incorporate into Mousses: Over-whipped cream with a denser texture can be folded into chocolate or fruit purees to create rich, flavorful mousses.
- Make a Trifle: Layer the cream with cake pieces, fruit, and jam in a glass to create a beautiful trifle.
These options allow you to embrace the unexpected and create something entirely new.
Pro Tips for Perfect Whipping Every Time
To avoid mishaps in the future, follow these expert tips from pastry chefs:
- Start Slow: Begin whipping cream at a low speed and gradually increase to medium. This ensures even aeration and reduces the risk of over-whipping.
- Use the Right Cream: Always choose heavy cream or whipping cream with at least 30% fat content. Lower-fat creams won’t whip properly.
- Chill Everything: Keep your cream, bowl, and whisk chilled. A cold environment is crucial for achieving the desired texture.
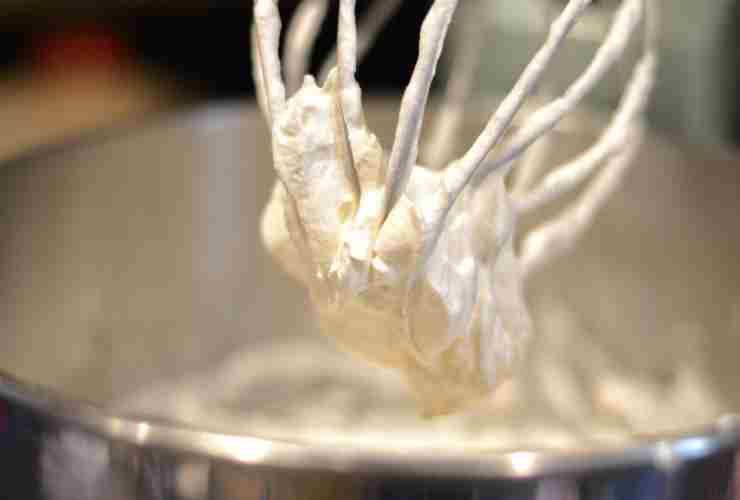
- Watch Closely: As the cream thickens, check frequently to prevent over-whipping. Stop as soon as soft peaks form if you need a lighter texture, or stiff peaks for a firmer consistency.
By mastering these techniques, you’ll whip cream like a professional every time.
Why Saving Cream Matters: Reduce Waste, Save Money
Throwing away cream isn’t just frustrating—it’s wasteful. High-quality cream is expensive, and learning to salvage it means fewer trips to the grocery store and less environmental impact. Additionally, knowing how to fix common problems empowers you to tackle kitchen challenges with confidence.
FAQs: Common Questions About Whipped Cream Recovery
Can I fix cream that’s turned into butter?
Yes! Use the butter for baking or cooking, and save the buttermilk for pancakes or biscuits.
What can I do if my cream won’t whip at all?
Check the fat content. If it’s too low, switch to heavy cream with at least 30% fat. Also, ensure the cream is cold and try whipping again.
How can I stabilize whipped cream for longer use?
Add powdered sugar, gelatin, or a commercial stabilizer to the cream while whipping to increase its stability and prevent it from deflating over time.
Conclusion: Master the Art of Cream Recovery
Mistakes with cream are common, even for experienced bakers. However, armed with the right knowledge and techniques, you can recover and even transform seemingly ruined cream into delicious desserts. Whether you’re adding fresh cream to over-whipped mixtures, chilling your tools for under-whipped cream, or repurposing butter, the possibilities are endless.
Mastering these tips not only enhances your baking skills but also ensures that no ingredient goes to waste. Next time your cream doesn’t go as planned, remember: there’s always a solution.

